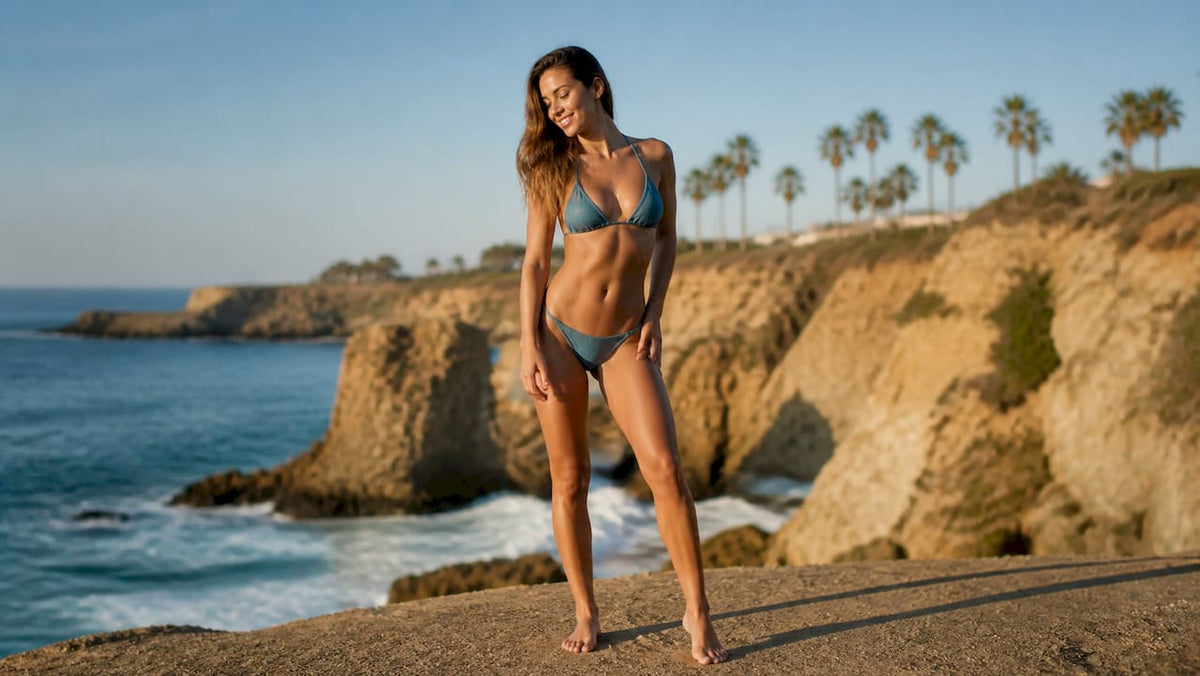
Ten bikini photo poses cover almost every shot you need: pop the hip, three-quarter turn, over-the-shoulder peek, walk toward the camera, lie on your side with a leg extension, lie on your back with bent knees, kneel and half-rise, sit with knees tucked, do a booty-shot walk-away, and try a close-crop leg-bend. Each one works because it changes the angle between your torso and the camera, which is what actually shapes how a photo reads, not the swimsuit.
Here’s the shortlist, one line of instruction per pose:
- Pop the hip — shift weight to your back leg, push the front hip toward the camera.
- Three-quarter turn — angle your body 45° instead of facing the lens head-on.
- Over-the-shoulder peek — turn your head back toward the camera while your body faces away.
- Walk toward the camera — shoot in burst mode and grab the mid-stride frame.
- Lie on your side, extend the top leg — this lengthens the whole silhouette.
- Lie on your back, knees bent — feet flat, knees up, arch slightly.
- Kneel and half-rise — one knee down, weight pressing up and forward.
- Sit with knees tucked — great for a close crop that skips full-body framing.
- Booty-shot walk-away — glance back over one shoulder mid-step.
- Close-crop leg-bend — bend one knee in front for a magazine-style detail shot.
Pro Tip: Confidence is your best prop. Keep a sliver of negative space between your arms and your torso in every pose, and the shot instantly looks less stiff.
You’ll see the three-quarter turn and golden hour lighting referenced again below. Both come up constantly in professional shoots, and Dollhousebikinis builds its own catalog photography around exactly these two cues.
Key Takeaways
The three-quarter turn, golden hour light, and busy hands solve most bikini photo problems faster than any specific pose choice.
| Point | Details |
|---|---|
| Angle beats pose | A 45° three-quarter turn flatters more reliably than facing the camera head-on. |
| Fix posture, not breath | Rolling shoulders back and shifting weight to the back leg works better than sucking in. |
| Shoot in motion | Burst-mode walking or hair-flip shots read as natural far more often than static poses. |
| Light timing matters | Golden hour light wraps the body softly, while midday sun casts harsh downward shadows. |
| Give hands a job | Props like hats, sunglasses, or a sarong prevent stiff, flat-armed poses. |
Table of Contents
- Standing Bikini Poses: Where to Put Your Feet, Hips, and Hands
- Sitting and Lying Poses for Editorial, Low-Energy Shots
- Movement and Candid Prompts That Look Natural
- Camera Angle and Lighting Choices That Change Everything
- What to Wear (and What to Hold) for Better Bikini Photos
- A Quick Checklist for Whoever’s Behind the Camera
- How to Practice Poses Before the Shoot
- A Note From the Retail Side of Swimwear Photography
- Frequently Asked Questions
- Sources
Standing Bikini Poses: Where to Put Your Feet, Hips, and Hands
Standing shots live or die on tiny adjustments. Get the feet, hips, and hands right and a plain standing shot turns into something you’d actually post.
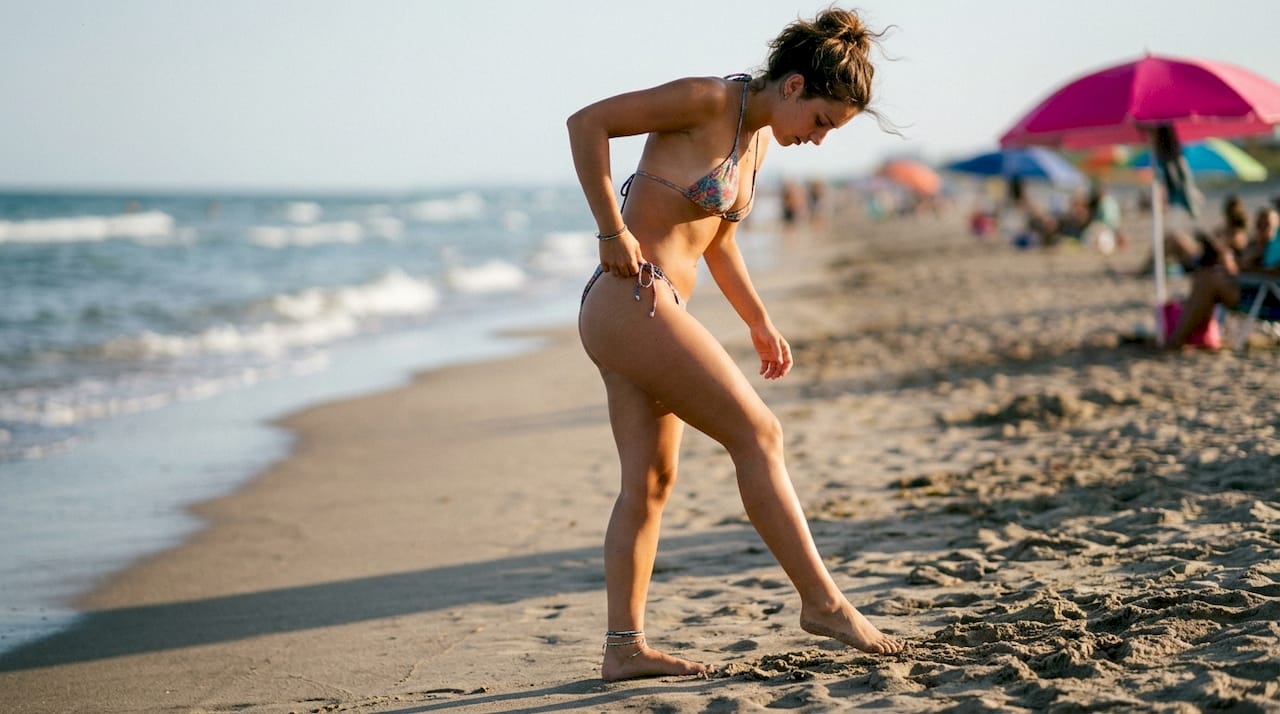
Start with the classic hip pop. Step one foot slightly in front of the other, shift your weight onto your back leg, and let the front hip drift toward the camera. Bend your front knee just a little instead of locking it straight. This single adjustment creates the illusion of a slimmer waist and elongates the legs at the same time. Point your front toe outward rather than flat, and tilt your chin down a fraction while your eyes stay up.
Layer in the three-quarter turn next. Rotate your body about 45° from the camera instead of squaring up to it. This is considered one of the most flattering angles for standing shots because it narrows the visible width of your torso and gives the photographer a natural line to follow from shoulder to hip.
- Hand on hip — rest your fingertips lightly, elbow bent out, never flat against your side.
- Arm up behind your head — this opens the underarm and ribs and lengthens the whole side of your body.
- Fingers lightly in your hair — creates movement and gives your hands somewhere natural to go.
Whatever you do with your hands, avoid pressing your arms flat against your torso. That contact point squashes the waistline in the photo and reads as stiff.
Pro Tip: Skip the instinct to suck in your stomach. Roll your shoulders back and down, arch your lower back slightly, and shift weight onto your back leg instead. It decompresses your midsection naturally without the tension in your face that holding your breath creates.
Sitting and Lying Poses for Editorial, Low-Energy Shots
Ground-level poses change your proportions more than almost anything you can do standing up, and they photograph beautifully with very little effort.
For sitting shots, try knees tucked toward your chest with your arms wrapped loosely around your shins. Crop this one close, chest up, for a magazine-style detail shot. Legs-to-the-side sitting, where both knees point in one direction, works better as a full-body frame because it shows the line from shoulder to ankle. Sitting front-on with knees raised and slightly apart photographs well from a lower angle, close to the ground.
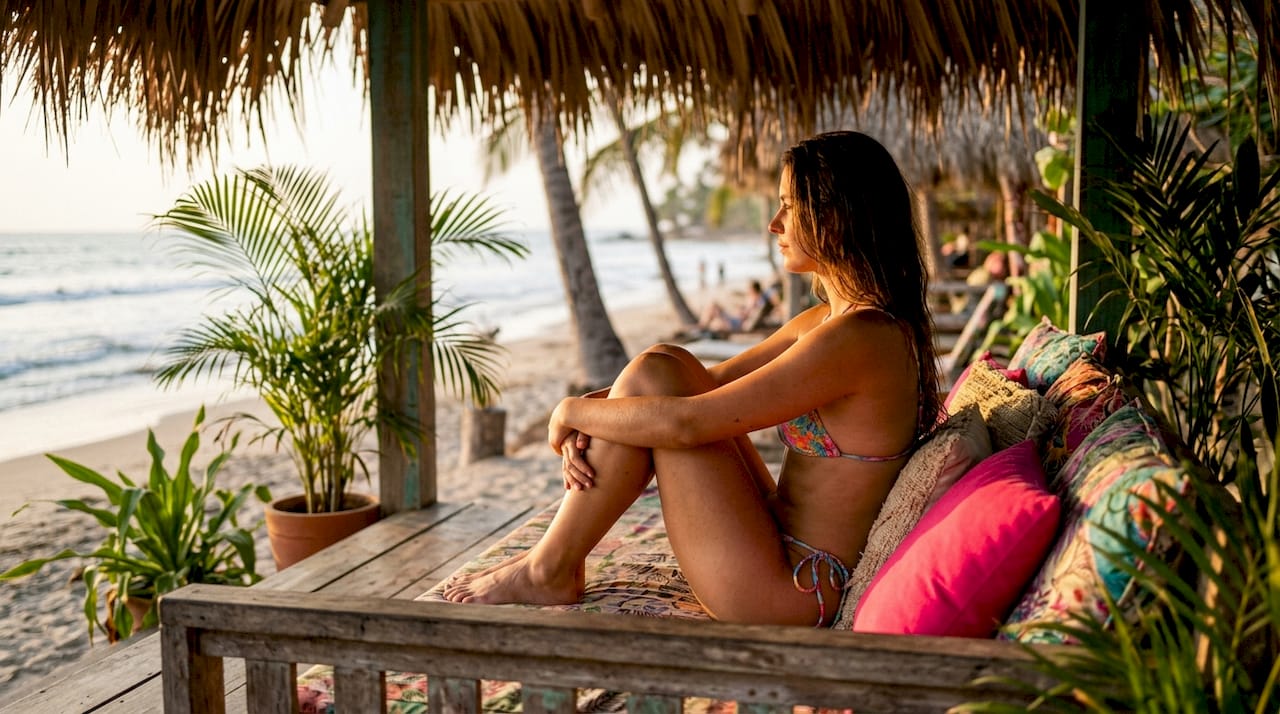
Lying poses ask for more shaping. On your side, extend your top leg fully while bending the bottom knee. This is the move that elongates your whole silhouette in a single frame. On your back, plant your feet flat, bring your knees up, and arch your ribcage slightly off the sand or towel. Never let your torso go completely flat. It reads as deflated in photos, pull it out of a 45° head-on angle and the stomach compresses less too.
Selfies need a slightly different approach:
- Hold the phone a few inches above eye level, not straight on.
- Angle your torso, don’t face the camera dead center.
- Do keep one hand doing something, hair, strap, sunglasses.
- Don’t let your free arm hang flat against your side.
Movement and Candid Prompts That Look Natural
Static poses can look stiff no matter how well you execute them. Motion fixes that instantly.
Try these action prompts, and shoot in burst mode for each one:
- Walk toward the camera at a relaxed pace, then check the mid-stride frames.
- Flip your hair to one side and snap through the whole motion.
- Turn your head slowly from one shoulder to the other.
- Step into the water and glance down, then up.
Movement creates natural weight shifts that a static pose can’t fake. Ask your subject to keep their arms relaxed, not locked, and to let small movements happen. A soft smile beats a held one every time.
Pro Tip: Never take the first or last frame of a burst sequence. The best shot almost always lands in the middle of the motion, mid-step, mid-turn, mid-flip, when the body looks caught in action instead of posed for it.
Camera Angle and Lighting Choices That Change Everything
Small technical shifts move the needle more than pose changes ever will. Camera height comes first: shoot slightly above eye level for selfies to elongate the torso and legs, or hold the camera at eye level or a touch lower for editorial shots that emphasize leg length. A few inches of height change can visibly lengthen legs and soften the midsection without changing the pose at all.
Lighting matters just as much.
- Shoot during golden hour, the hour after sunrise or before sunset, for soft, wraparound light.
- Avoid midday sun when possible; it casts hard shadows straight down across the face.
- If midday is your only option, face the subject toward the light source or move into open shade.
- A cheap reflector (even a white towel) bounces fill light back onto the face.
Golden hour light is warm and diffused, which is exactly why it flatters skin tones better than overhead sun. On composition, keep your lens choice in mind too: extreme wide-angle close-ups distort proportions, and standing too close to your subject widens the torso in the frame. Back up a few steps, use a moderate zoom, and frame around the rule of thirds instead of centering every shot.
What to Wear (and What to Hold) for Better Bikini Photos
Suit choice does real work before you even take the shot. A high-waisted bottom covers more of the midsection in seated and reclined poses, where skin naturally folds. Bold prints can pull focus toward the chest or hips depending on placement, while solid colors let the pose itself do the talking. Necklines matter too: a plunge top elongates the torso, while a halter with structured straps adds shape for fuller busts.
Accessories give your hands something to do, which solves half the “what do I do with my arms” problem on the spot.
- A wide-brim hat doubles as a hand prop and shade for your face.
- A sarong tied loosely at the hip works for both cover-up and styling.
- Sunglasses give you something to hold, push up, or adjust mid-shot.
Pro Tip: If you’re worried about waistband bulging in seated poses, size up rather than down. A slightly looser fit around the waist actually photographs cleaner than one that’s fighting your skin. Structured pieces like designer swimwear with real support features hold their shape through motion shots better than thin, unlined fabric.
A Quick Checklist for Whoever’s Behind the Camera
Whether it’s a friend with a phone or a hired photographer, running through this list before you start saves the shoot from stalling out mid-session.
- Check framing distance — back up enough to avoid wide-angle distortion near the edges of the frame.
- Confirm lighting direction — is the light source in front of, or behind, the subject?
- Set focal length — a moderate zoom flatters better than a close wide shot.
- Run through a few verbal prompts — “walk a little faster,” “look down, then up slowly,” “tuck your chin just slightly.”
- Ask before close crops — confirm comfort level before shooting tight on any body part.
- Keep a cover-up nearby — for quick breaks between poses or setups.
One line covers the rest: ask before you shoot anything close, keep a cover-up within reach, and never pressure a pose that makes someone visibly uncomfortable.
How to Practice Poses Before the Shoot
A few minutes of mirror practice the night before beats trying to figure out your angles for the first time in front of a camera. Run through your top three poses for three minutes each, then record a short video on your phone and watch it back.
- Start with sitting or kneeling poses, they’re lower pressure and easier to hold.
- Build up to standing and motion poses once you’re comfortable.
- Use your phone’s front camera to check which angles you actually like before the real shoot.
Pro Tip: Practicing power poses ahead of time, arms stretched overhead, walking toward a mirror, builds muscle memory so you’re not thinking through every joint on shoot day.
A Note From the Retail Side of Swimwear Photography
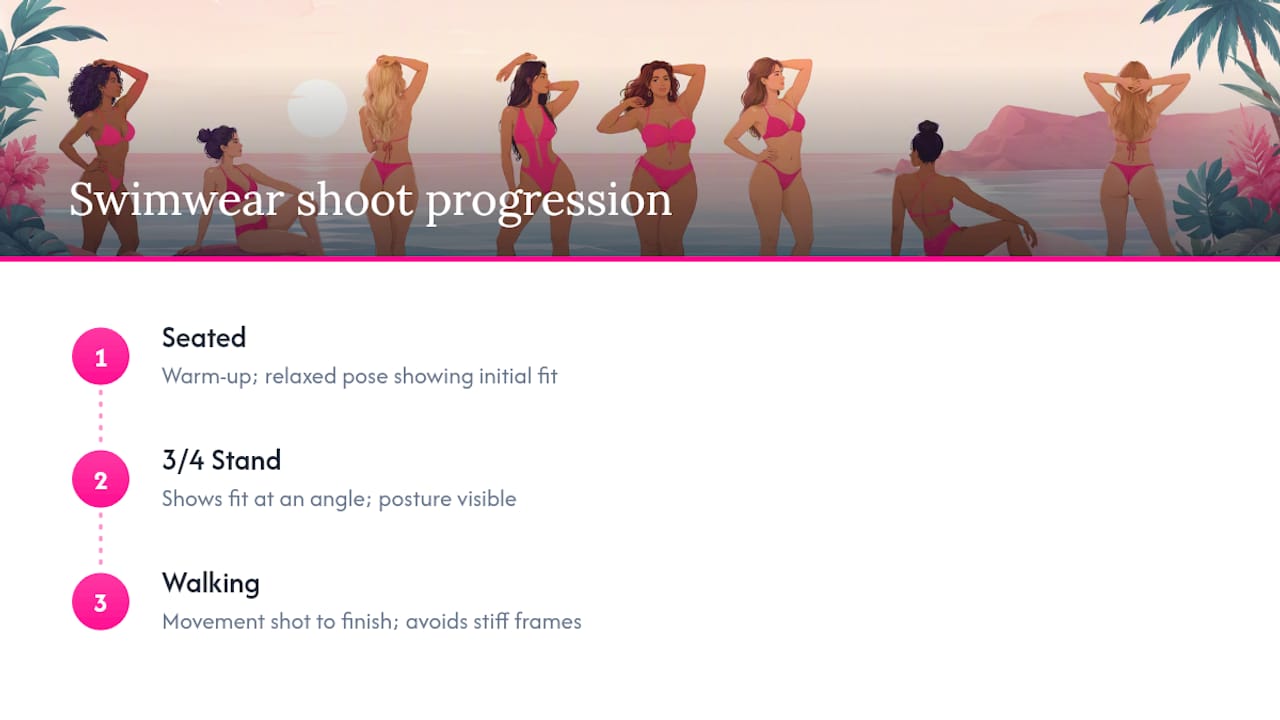
On most catalog and social shoots for swimwear, the sequence that works almost every time starts seated, moves to a three-quarter standing turn, then closes with a walking shot. That order lets the subject warm up before the camera asks for anything demanding. Product photography for Dollhousebikinis leans on this exact progression, since it shows a suit’s fit from multiple angles without a single stiff frame in the set.
Frequently Asked Questions
What’s the most flattering bikini pose for beginners? The hip pop combined with a three-quarter turn is the easiest starting point. It requires no flexibility, just a weight shift and a 45° angle change, and it works for standing shots on almost any body type.
How do I pose in a bikini if I’m camera-shy? Start seated or kneeling. Low-energy poses ask less of your body and face, and confidence tends to build once you’re warmed up, which naturally improves posture and expression as the shoot goes on.
What time of day is best for bikini photos? Golden hour, the hour right after sunrise or before sunset, gives soft, warm light that flatters skin tones. Midday sun casts hard shadows straight down across the face and body.
Where should I put my hands in bikini photos? Anywhere except flat against your sides. Rest a hand on your hip, run fingers through your hair, or hold a prop like sunglasses or a hat. Keeping hands “busy” avoids the squashed look that comes from arms pressed to the torso.
Do bikini poses work differently for different body types? Yes. A high-waisted bottom and a 45° seated angle help minimize midsection compression, while an extended top leg in a side-lying pose elongates the whole frame regardless of body shape. The angle and posture adjustments matter more than the specific body type.
Sources
- Bikini Poses — ExpertPhotography
- 11 Flattering Bikini Poses for Sexy Beach Pictures — Shotkit
- How to Pose for a Swimsuit Photoshoot — Dixie Dixon
- Beach Bikini Photo Poses for Every Body Type — Chioma Creates
- How to Pose in a Bikini — wikiHow
These are for extra inspiration. Everything you need to shoot today is already above.